

Everything Else


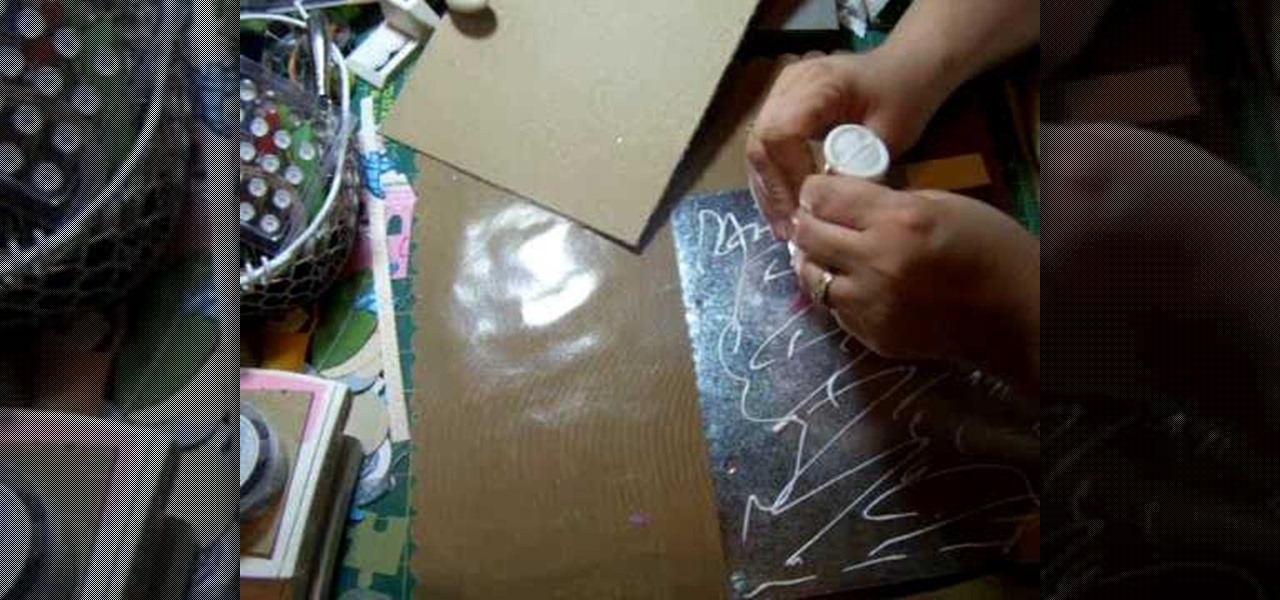
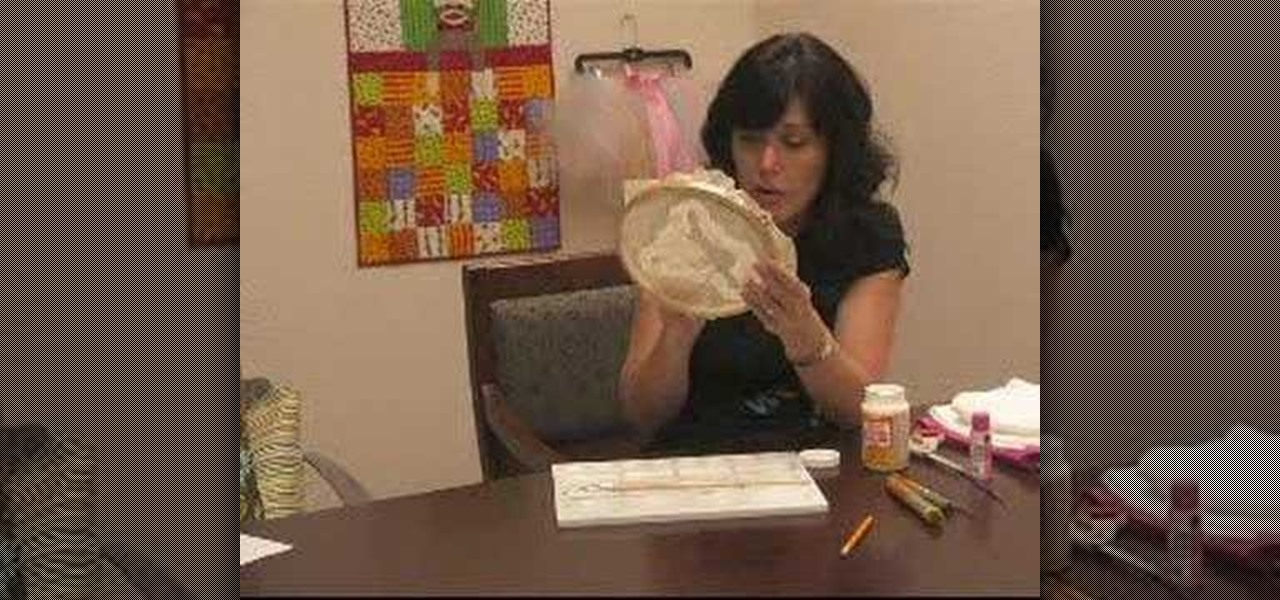
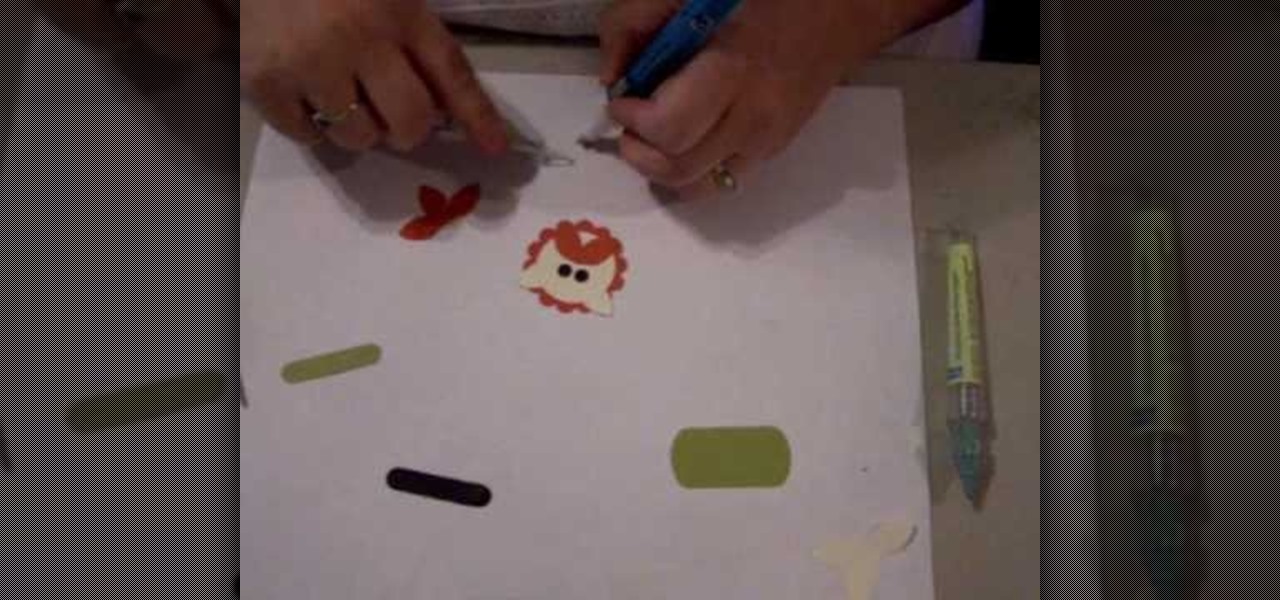
How To: Start a paper doll dress-up tin/purse project
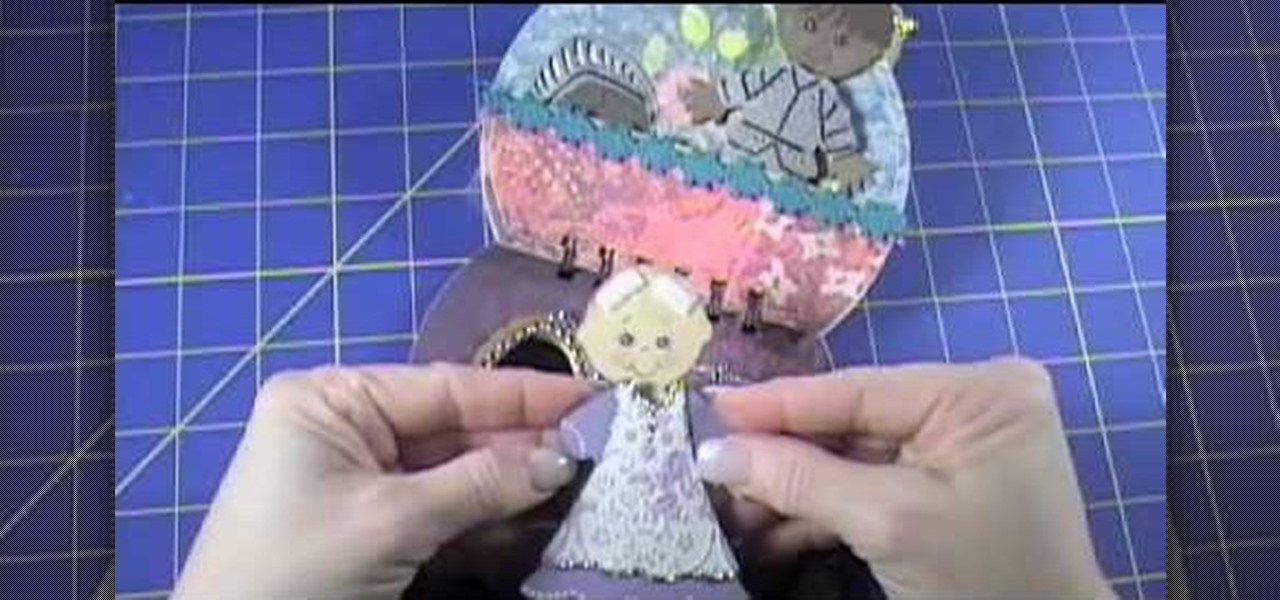
The video describes the making of Paper doll dress up and a Tin Purse to put the dolls inside. You can use the cartridge paper but regular paper should do. She was sticking to the princess themes in this tutorial. The tin comes from provocraft but creative imaginations also offers one. Instead of purchasing a tin you can find a old tin purse maybe once for a over sized set of playing cards. There is a tab feature you can use on the dolls but which children the might come off. She suggests usi...
How To: Make a vase out of 3 stamps
This video illustrate us how to make a vase out of three stamps. Here are the following steps: Step 1; First of all take all the requirements that is paper, stamps, stamp pad, color pencil extra.
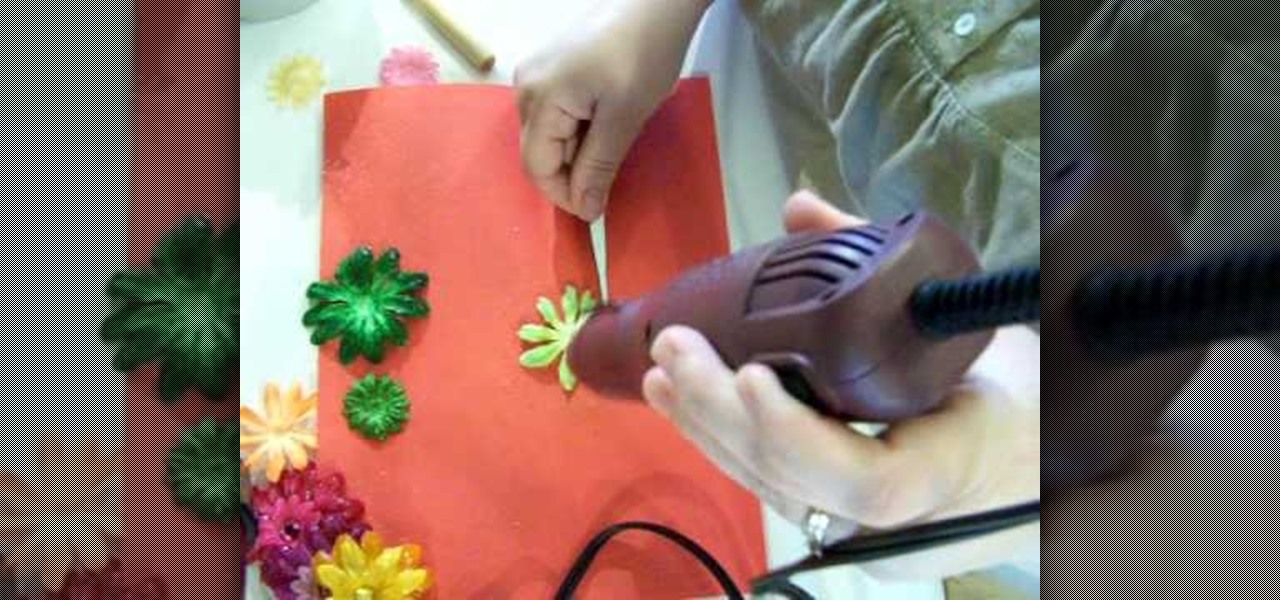
How To: Make paper flowers with Stampin' Up!
Dawn Griffith demonstrate simple and easy way of making paper flowers using card stock paper and wall paper. First take pink card stock and using XL fancy flower cutter punch 8 flowers. You can take card stock or any designer wall paper which is a thin paper when compared to card stock, so you do not need to wet paper like in card stock. Next spray water on flower cut card stock paper and squish up into a tight ball. Do like this for all 8 flower cuts. Then gently unfold all squished paper ba...
How To: Make clay molds using rubber stamps
GardenOfImagination demonstrates how to make clay molds. To make clay molds with rubber stamps you can use your scrap clay. First, you need to condition your clay by working it in your hands. This will make it easy to work with and get all of the wrinkles in it. Then roll it into a ball and flatten it out just a tiny bit to get it ready for the rubber stamp. Next, pick out the rubber stamp you wish to use for your mold. Make sure that the clay is spread out to the size that you need. Then tak...
How To: Make a decorative mini magnet board
In this tutorial, Bonnie shows you how to make a super fun new craft project for use in your home or dorm room. For this video, Bonnie makes a super cute little bulletin board with a twist. This board is magnetic! No need for push pins, now you can simply display messages and important papers with magnets and avoid all the holes.
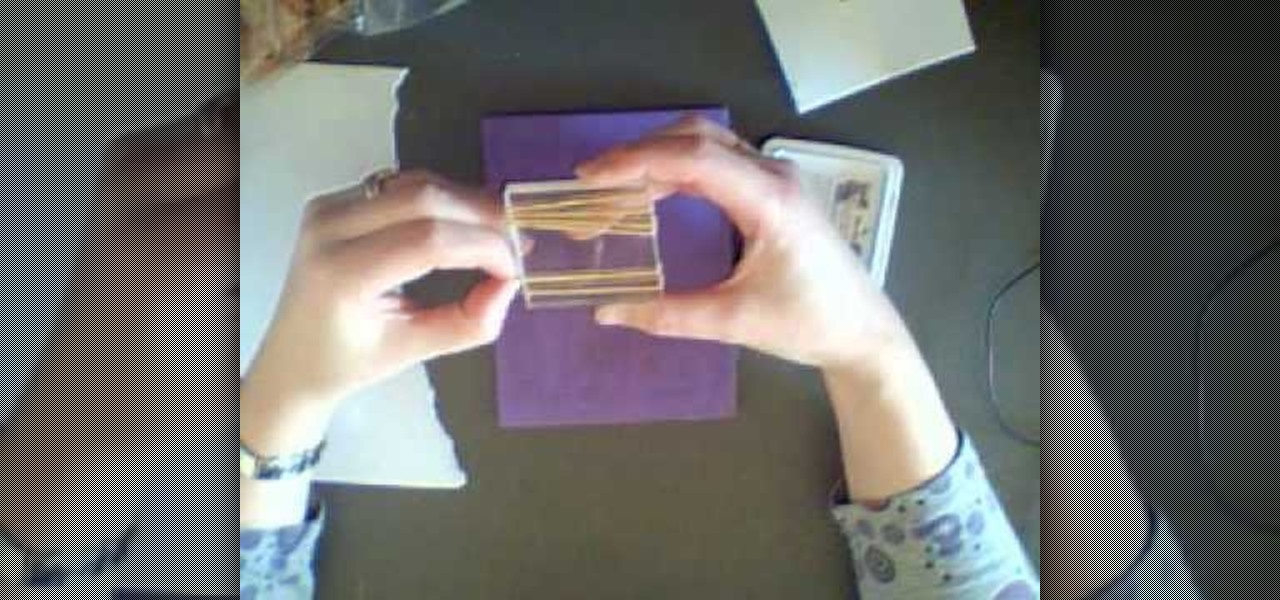
How To: Make your own Journaling line stamp
First of all you need an acrylic block, stamping pad, packet of rubber bands and a piece of paper. Open the rubber band packet and then you have to choose several rubber bands which are of same size. Now you have to get these rubber bands on your acrylic block. You can also use a wooden block or an old stamp instead of acrylic block. Now you have to sort out the rubber bands so that they are placed in order with a gap of around a quarter of an inch between each one. You also have to adjust th...
How To: Make molded paper using stamps & toilet paper
In this video tutorial, viewers learn how to make molded paper. The materials required are toilet paper and stamps. Begin by wetting the toilet paper under some water and lay it down. Use about 10 layers of 2 ply toilet paper. Now press the stamp onto the wet toilet paper and then press down on the stamp with a towel or cloth. Remove the stamp and heat dry the toilet paper. Now let the toilet paper dry fully overnight or half of the day. This video will benefit those viewers who are intereste...
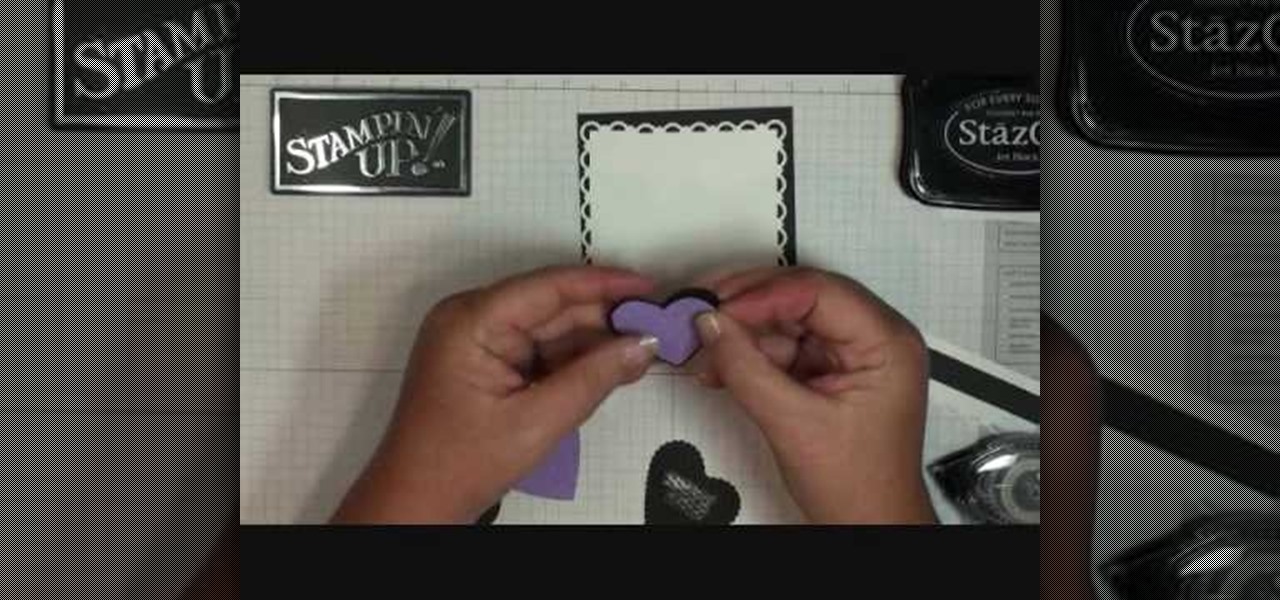
How To: Make a card using the Cuttlebug "smoosh" technique
In order to make a Cuttlebug Smoosh Card, you will need the following materials: card stock (at least 3 different prints or colors), a ruler, distress tool, double sided tape or glue, distress ink, watermark stamp pad, decorative accessories, and scissors.
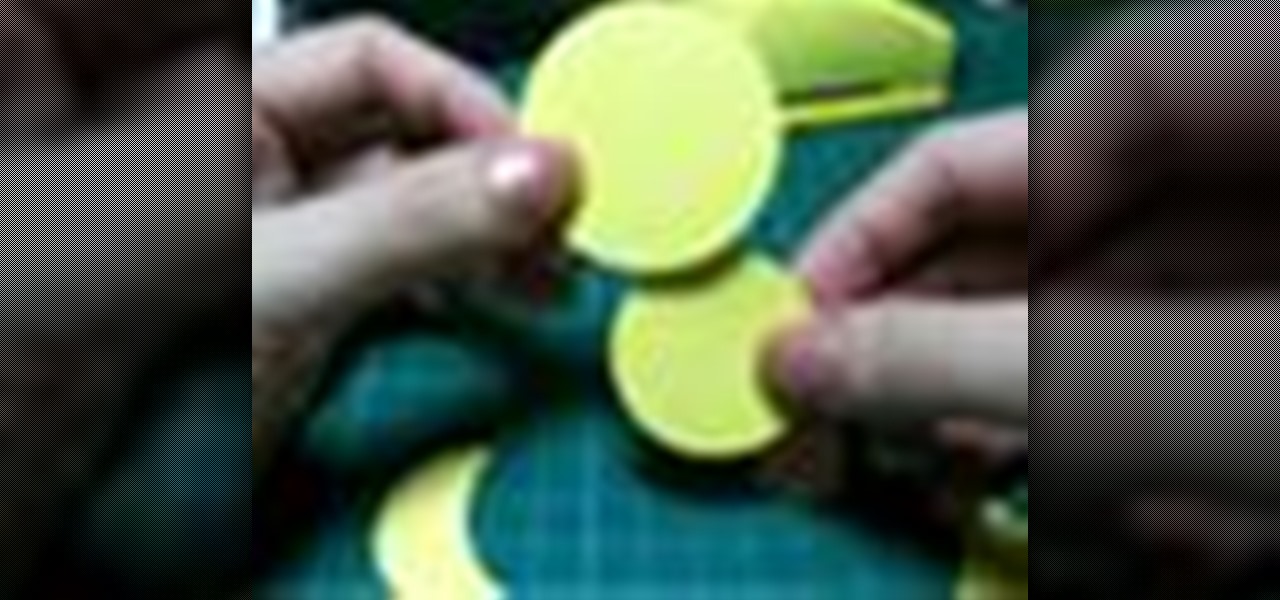
How To: Make a little chick using punches
In this how to video, you will learn how to create a little chick with punches. You will need a 1 3/4 circle punch, a 1 1/2 circle punch, a 1 1/2 circle scallop punch, and a small square punch. You will also need a pink and yellow material to cut from. Cut out one piece from the 1 3/4, one from the 1 1/2 circle, and two pieces from the 1 1/2 scallop circle. Take one piece of the scallop and take the 1 3/4 punch and punch the side out. Take the punched piece and place it on to of the other sca...

How To: Distress stamp inks
A cool way to accessorize your scrapbook is with distressed ink. In this tutorial, learn how to take beautiful inks from the folks at Stampin UP and distress them for a very cool effect.

How To: Make thank you cards with Stampin' Up!
Handmade cards are a great way to show someone you love you care about them. In this video hosted by Stampin' Up! expert Dawn, learn how to create fun mini thank you notes! Give one as a return thank you for a gift received or give one to that special someone to thank them for being in your life.

How To: Make a layered bow & glitter card with Stampin' Up!
Make something special for someone you love with help from Dawn of Stampin Up! This card features a layered butterfly made of ribbon and glitter... perfect to accompany a gift during springtime. Get crafty with Stampin' Up!
How To: Make a stained glass mirror
In this Arts & Crafts video tutorial you will learn how to make a stained glass mirror. This video is from Artists Resource. You will need a Marabu GlasArt kit, some spirit, a china graph pencil, scissors, a ruler, masking tape, a container to mix your paint, an object to draw an oval shape, Marabu outliner paint, a mirror and peel off dolphin stickers. Take a few dolphin peel offs and stick them on the face of the mirror; on the edges, to form a design. Place the oval shape object in the cen...

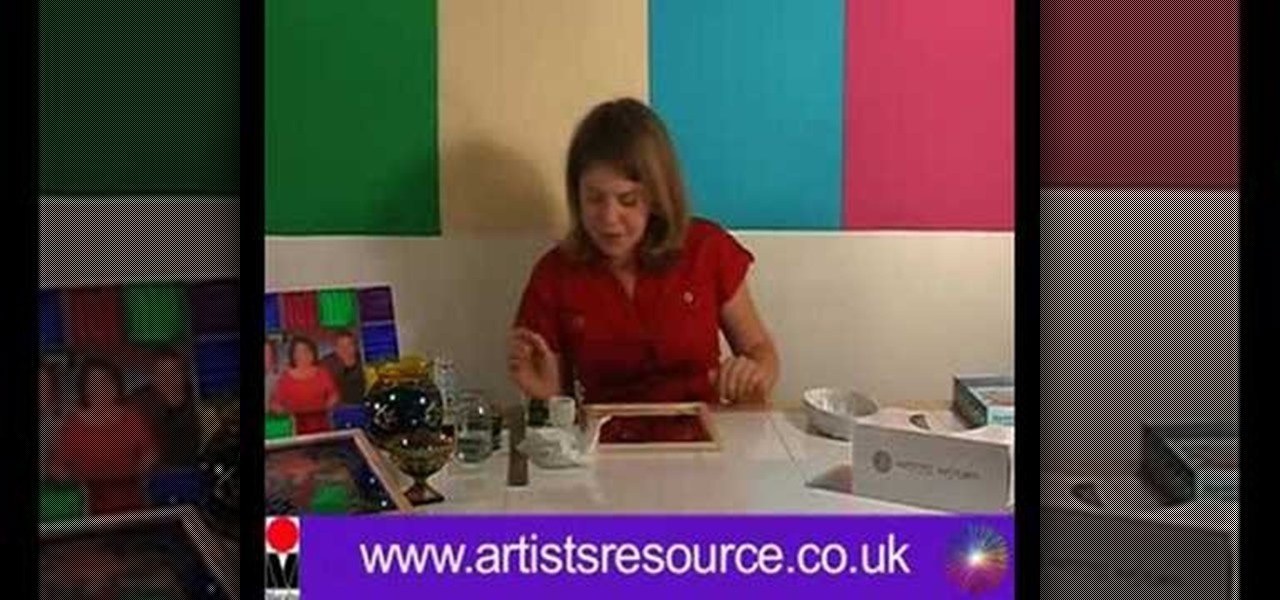
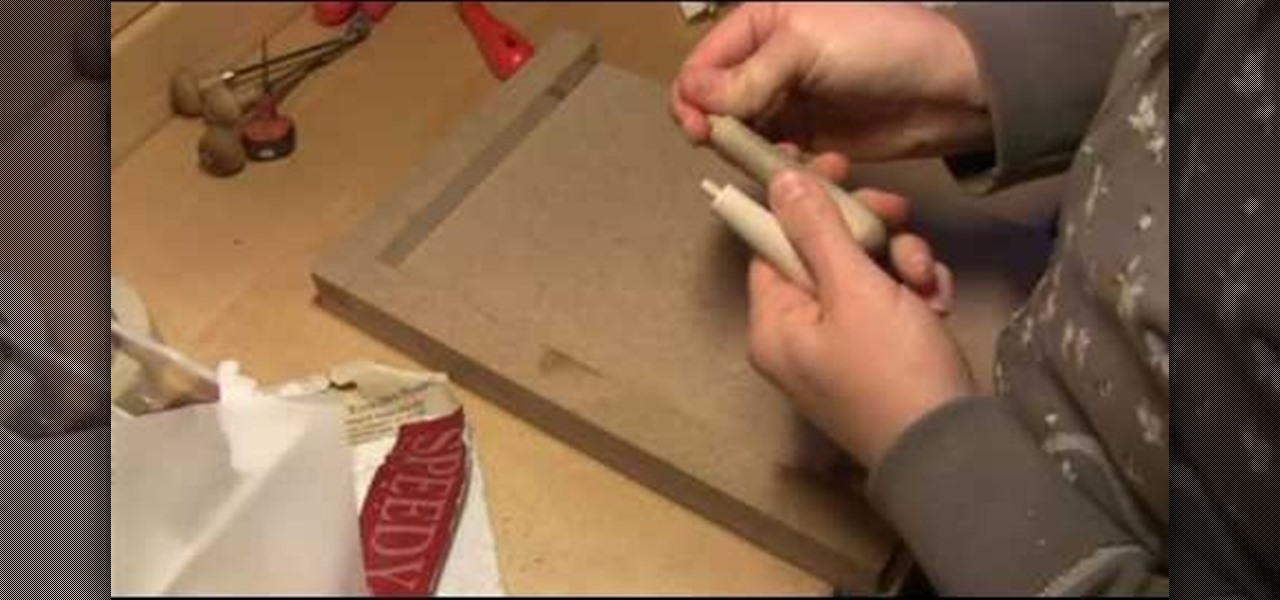
How To: Make a stained glass picture frame
In this Arts & Crafts video tutorial you will learn how to make a stained glass picture frame. This video is from Artists Resource. You will need a Marabu GlasArt kit, some white spirit, a china graph pencil, scissors, a ruler, sheets of scrap paper, lead tape and a picture frame. Take the frame and remove the clips. With the ruler and china graph pencil mark off and draw 6” squares. Rub off the center lines with a tissue. This is where the photo will fit. Next you fill the squares with the g...
How To: Carve a stamp print block
In this seven-part video tutorial, learn how to carve your own stamping printing block for your creative projects. These stamps can be used for anything from scrapbooking to art journaling and make for a wonderful addition to your project. For more information on how to construct these stamps, go here.
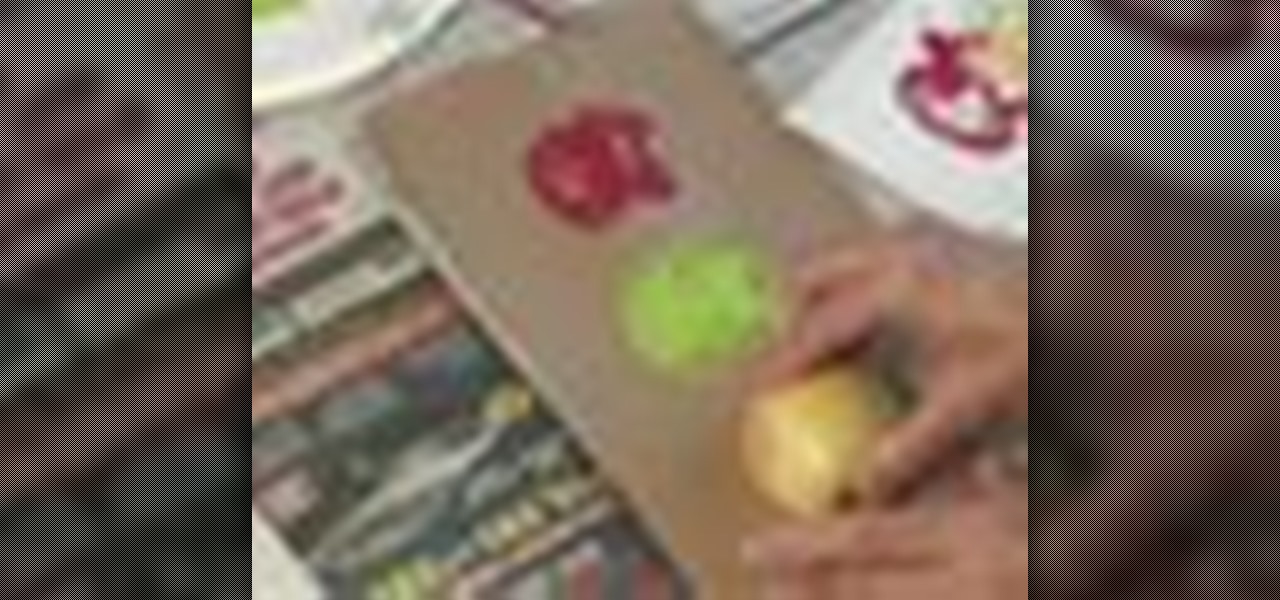
How To: Craft apple stamps
Here's a great craft project you can do with kids or in a classroom. You can use an apple half to stamp apple shapes onto everything from lunch bags to tote bags. This is an easy and cute project to do for the fall.
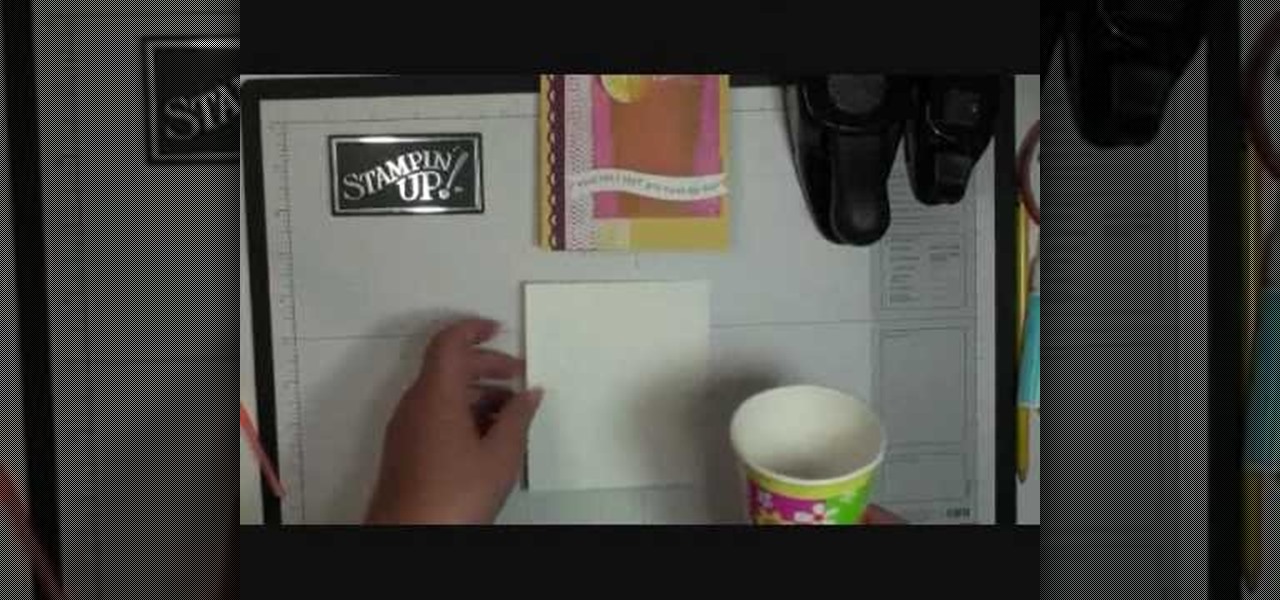
How To: Make a 3D lemonade cup card with Stampin' Up!
Dawn Griffith creates a cute card with a 3D lemonade glass embellishment from start to finish. Create a template by making a rough sketch of an 8 ounce paper cup onto a piece of white cardstock and cut it out. Take the template and either trace it onto a piece of vellum cardstock and cut it out, or use Dotto adhesive to attach the template directly to the vellum and then cut around the shape. Score each side at about 1/4", fold on the score lines and trim the overlap at the top. Apply sticky ...
How To: Make professional vinyl stickers
Ever wish you can have your own custom stickers? Well its not that hard and you can find everything you need at many major supplies stores. This video will show you exactly how to make professional vinyl stickers to stick anywhere!
How To: Make your own stickers
If street art is your thing, maybe you should make and print your own stickers to post around. Well this user shows us a pretty sweet way to do so. This video shows us how to make, import, edit, and then print our own stickers
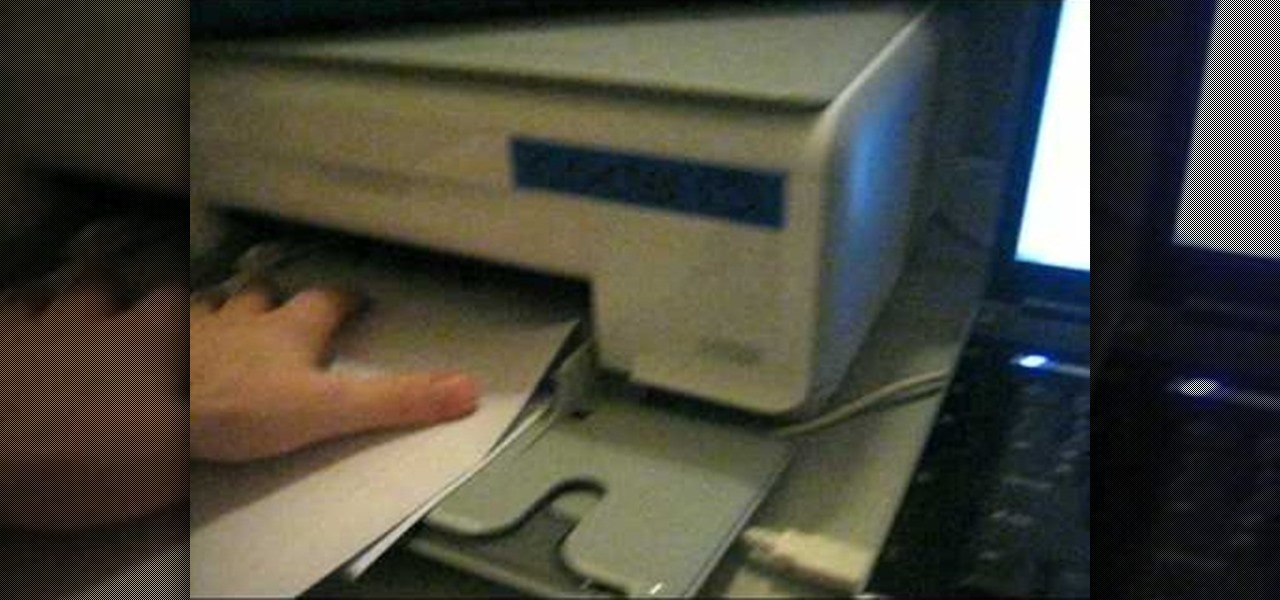
How To: Make stickers from your printer
With some vinyl, matte, and a printer you can make customizable stickers to post anywhere. This is a really quick and easy method and this video shows you exactly how to make durable, custom stickers.
How To: Make a gift card holder with Stampin' Up!
This video shows the method to make a gift card holder with "Stampin' Up." First, we use the Movers and Shapers to cut a heart shape on a paper. We use the add-ons cut by the Movers and Shapers to punch windows. Next, we use the Big Shot machine. Next, put a piece of Whisper White in the machine and cut at four and a quarter to eleven inches. Fold it into half and cut an inch and a half off the front top. Score the back panel at one and quarter inch. Take bags measuring 3 5/8 inch to 6 5/8 in...
How To: Make a spinner card with Stampin' Up!
To make a Spinner Card you need some essential tools like, Paper Cutter, Scissors, Stamps, 1/2" Circle Punch, 2 Pennies, a Stamping Dimensional and any embellishments. Have the card stocks one for the card part and the other for the front of the card. In the first step, take the circle punch, flip it over for easy viewing. Push the paper all the way in and to the farthest left without going out of the paper. Punch your 1st hole here. Do the exact thing on the right side of the 1st hole. It wo...

How To: Make a flower brooch using the Big Shot
Dawn5377 teaches you how to create a flower brooch using the Big Shot tool. Start with the flower folds bigz die. Apply pieces of material over each flower and cover it all with a piece of acrylic. Pass it through the Big Shot tool and you will have flowers made of that material. Now use the basket and blooms bigz die and cut small circles with the process described above. Fold the flowers in half and create groupings of 3 or 4 flowers with different textures. Use a punch hole to cut pieces o...
How To: Make a simple Birthday card with Stampin' Up!
Demonstrator Dawn Griffith offers a short tutorial on how to make a simple and cute birthday card. First you will use white paper to make your base card. Then use a scallop edge punch to scallop some green designer paper, which you will glue to the top of your card. Tie some white ribbon around the top and trim for a clean look. Use a greeting stamp to stamp a message onto the bottom right front of your card. Create a center image by adhering white paper on black card stock, stamp the white p...
How To: Use the clear mount stamps from Stampin' Up!
Dawn5377, teaches you how to use the clear mount stamps. These come in sizes from A to I. They are high cut so you don't get ink on your fingers when using them. The stamps come in a DVD case for easy storage, which also comes with instructions on usage. Remove the sticky part of the image, place it on the back of the rubber stamp. Place image face down on the clear block of equal size. Ink the rubber stamp and just stamp on a piece of paper. You clean the rubber stamp with spray mist and scr...
How To: Make a gift card holder & sleeve with Stampin' Up!
Stampin' Up Dawn shows how to use Stampin Up to create original gift card holders and sleeves in this craft tutorial. The tutorial shows how to create the Bashful Blue gift card holder. However, it should be noted that the Certainly Celery card does not utilize the scalloped edge design. The third style, Elegant Eggplant, uses ink #10510 and card stock #105126. You will need a strip of bashful blue card stock cut 4.5" by 7 3/4" scored at 3/4 and 4 1/4. Fold the score lines to create the sleev...

How To: Recycle an old sweater into a bookmark
In this video, Craftside blogger/author/craftster Stephanie Girard shows us how to make bird-like upcycled sweater bookmarks. Joining Stephanie Girard in this video is Jennie Hinchcliff, co-author of Good Mail Day. We're shown how to use a die cutting machine to die cut some sweaters and recycle them into bookmarks. In this example, we use a felted wool sweater and a Hello Kitty die cutting machine. With this tool it is simple to cut out a bird-shaped piece of the sweater. Then you place it o...
How To: Make an easy silk screen stencil tee shirt
This video by Wowzzydot shows us an easy way to silk screen/stencil a garment. Using either a t-shirt or baby onesie, you can decorate it in the style of our choice. She clearly tells you the supplies you will need, embroidery hoop,sheer fabric, such as a curtain panel, paint and stencil brushes, scissors, Mod Podge or any water solvable glue. Also textile paint or ink and of course, the garment to be decorated. The first step is to cut the sheer fabric about an inch larger around than the ho...
How To: Make an easel card with Stampin' Up!
Using products from Stampin' Up you are able to create this great looking easel card. This quick and easy project uses card stock, stock lace created with a border punch, stock cutter, embossing plates, a few dimensionals, and a few other items that can be bought in the Stampin' Up kits. Each item adds it's own unique look to the creation of this easel card. The process to create these cards are sped and simplified with the kits and a variety of items can be created to add a personal touch to...

How To: Make polymer clay flowers
Polymer decorations are easy to create and beautiful to exhibit. These amazing polymer clay flowers can be used as a beautiful assortment of decorations or just a little keepsake for yourself or for a friend. They don't take long to make and all you need is some polymer clay, a stencil cutter for your petals, and a tool to round off your petals. This video will demonstrate how to make these amazing polymer clay flowers great for any occasion. Enjoy!
How To: Use the Yudu personal screen printer
CreativeXpress shares a video regarding the usage of the Yudu personal screen printer. Put the plastic foil over the design you want on your t-shirt and turn on the light on the printer. This will cause the design from the page to be transfered onto the foil. Then you simply place the shirt onto the foil and place a good amount of ink on top of the foil. Use the squeegee to spread the ink over the design and onto the shirt. Let it dry for a bit, then iron the shirt using a cloth or piece of p...

How To: Make a snowman magnet with Stampin' Up!
Stampin' Up! with Dawn presents a video on how to make a cute snowman ornament that is perfect for the holiday season. The design was made by one of her viewers and she was able to get all the proper measurements and instructions needed to make this piece. She shows us how to do it step-by-step and shows us which materials and techniques should be used in order for the snowman to come out just right. By following the instructions in the video you can make an adorable magnet yourself without h...
How To: Make a turtle punch using Stampin' Up! products
Are you looking for an inexpensive way to make home made crafts? Bonnie has a great new tutorial just for you. In this episode of Bonnie's Creative Place, she will be showing you how to make a cute little turtle using Stampin' up paper punches. The video will provide you with Bonnie's easy to learn process and you will be surprised at how just a few household tools and office supplies are needed in order to make your very own high quality crafts. Don't miss out!
How To: Make a leprechaun punch using Stampin' Up! products
What to make your own leprechaun punch using just Stampin' Up! products? Well, this video shows the viewer how to make your very own leprechaun punch! The video provides detailed step by step instructions on how to make the leprechaun punch using nothing but Stampin' Up! products. The video is very simple and each instruction is very clear and exact. Viewers will have a easy time learning this and will be making their own leprechaun punches in no time! So get working!
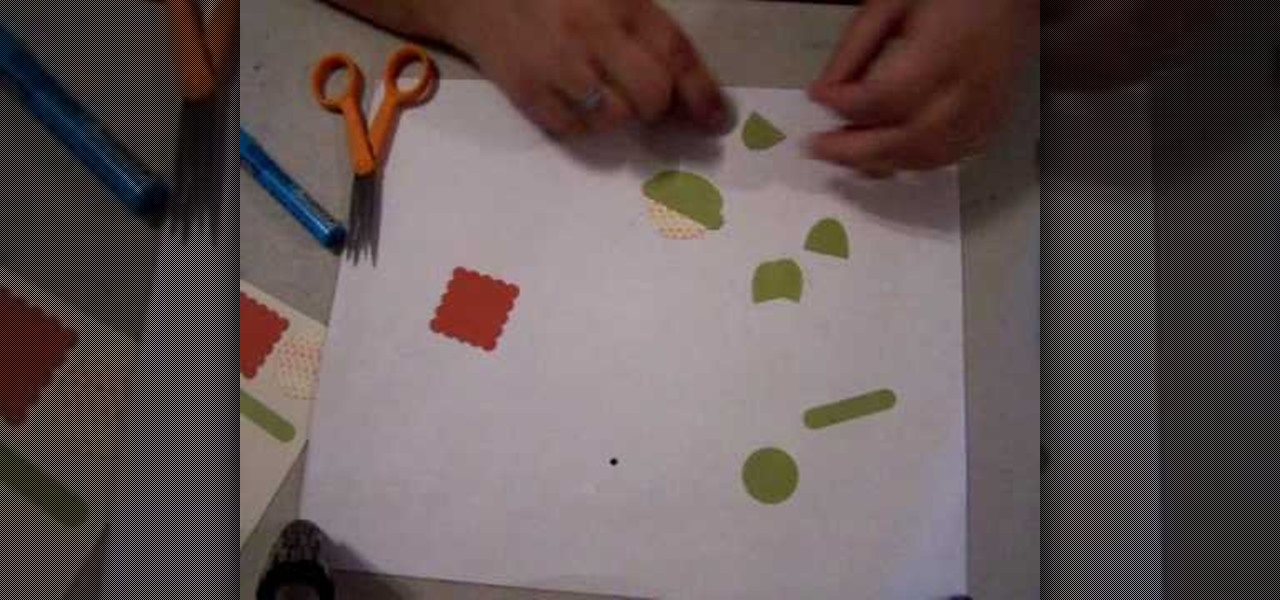
How To: Use prima flowers in scrapbooking
Looking for a great scrapbook style for Spingtime? Bonnie shows us how to use prima flowers in scrapbooking. First she chooses her flowers, then she paints and glitters them and finally attaches them to her pages. The flowers add a pretty, 3D effect to an otherwise flat scrapbook.

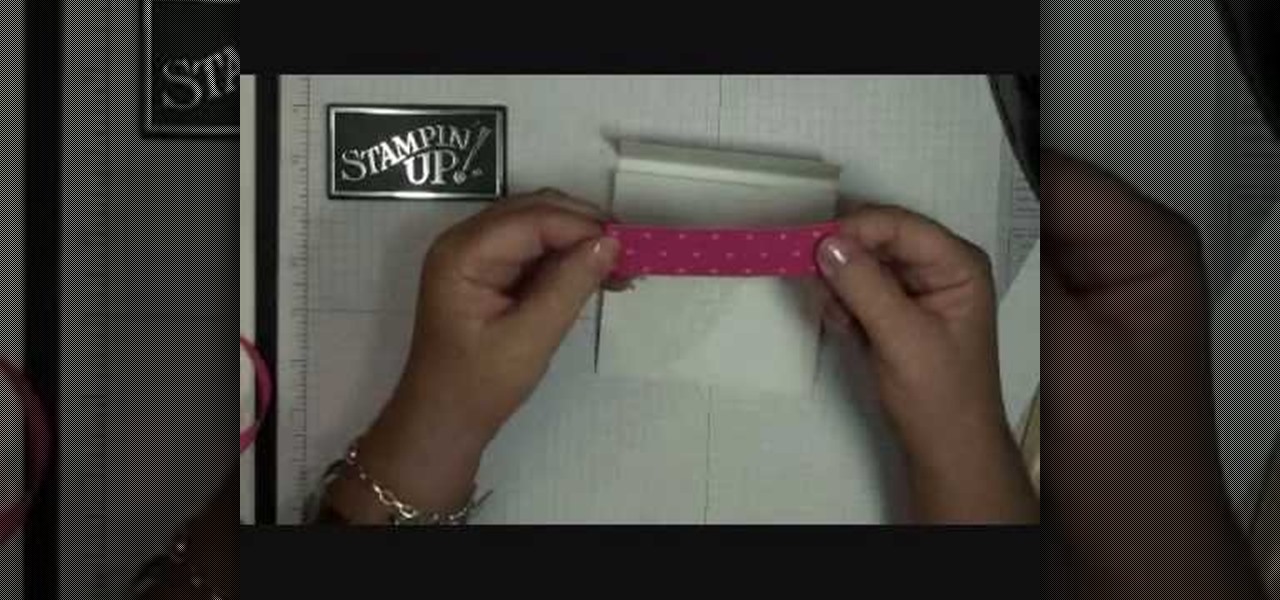
How To: Make a heart-themed card with a treat/candy cup
You will need the following materials: a Green Galore #101768, cut at 4 1/4" by 11' scored at 5 1/2", a piece of Whisper White #100730 cut at 2 1/2" by 1/4", Real Red #102482 cut at 2 3/4" by 1/2", a piece of Whisper White for the door to release the treats from the card, cut at 2" by 2/12", a strip of Real Red cut at 1" by 5 1/2" and a circle of Green Galore with a 1 3/8" circle punch #104401. First use the larger piece of white and the stamp set #120780. Use the clear block #118485 and Gree...
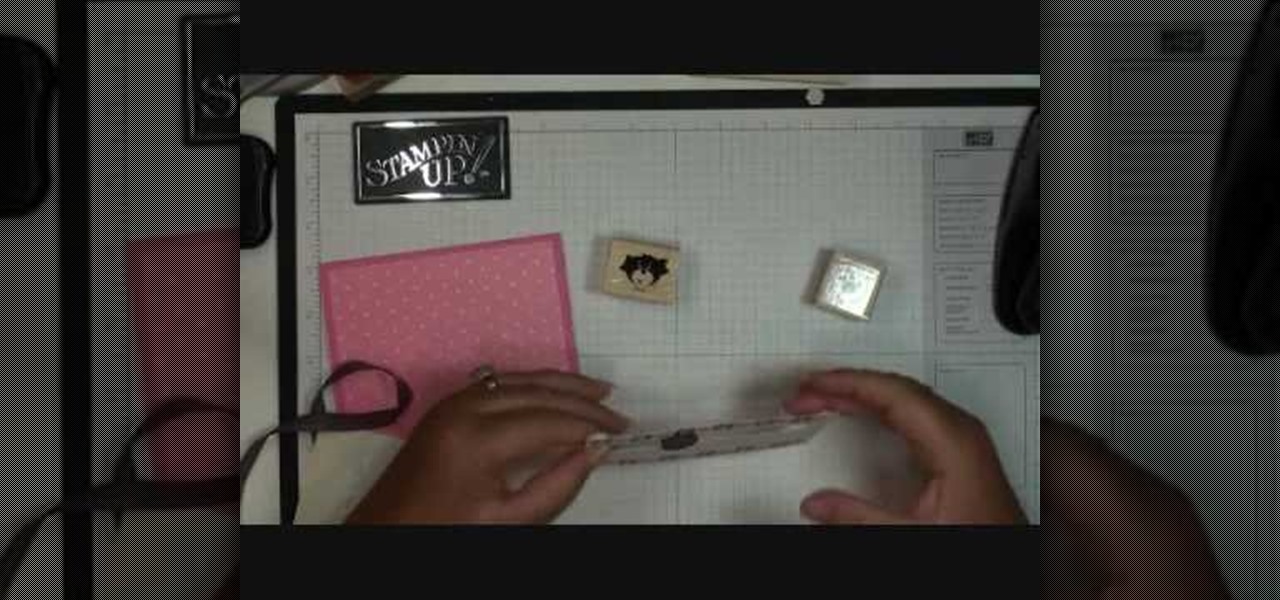
How To: Use a scallop trim corner punch with Stampin' Up!
In this video, Dawn, an arts and crafts expert shows you how to work with stamping and stenciling. She goes through two different styles that can be created with stamps/stencils. The first is a "scallop trim border" on card-stock paper. She takes you through various steps to complete this. She then goes on to show you how to make a "scallop trim corner punch" with stamps. The process is quick and easy, you need card-stock paper, various stamps, and stencils.
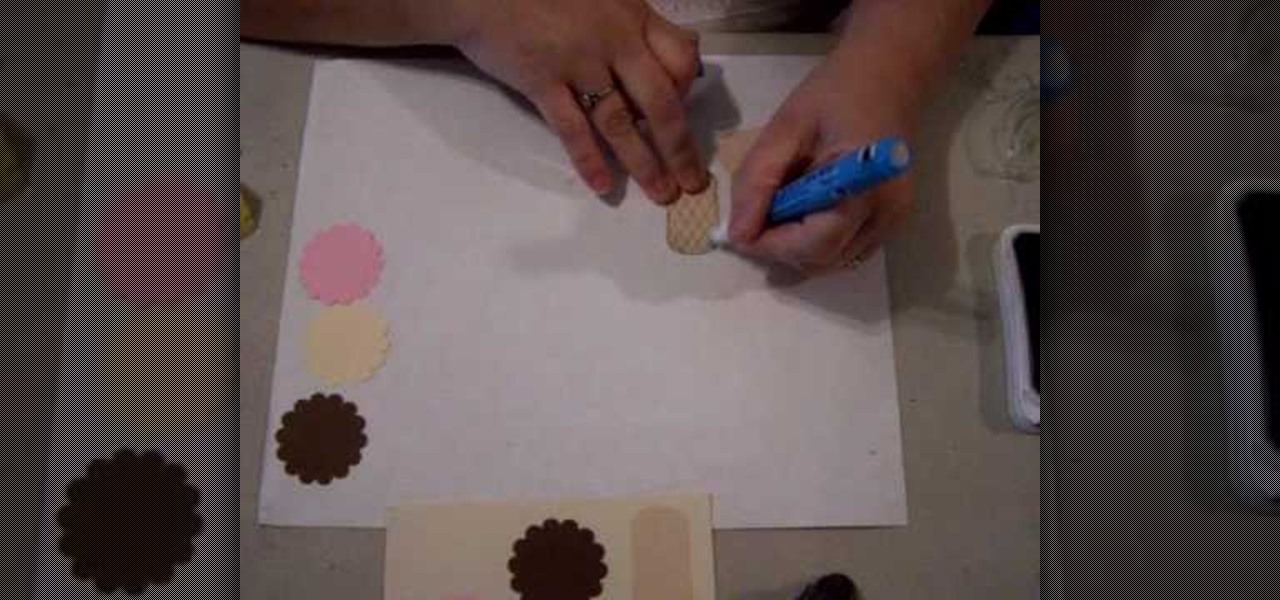
How To: Make an ice cream cone punch using Stampin' Up!
If you like arts and crafts then this video is for you. Watch and learn how to make a simple, creative, and fun paper ice cream cone with strawberry, vanilla, and chocolate ice cream scoops. Great for scrap-booking, covering diaries, keeping children (or anyone who is bored) busy, or anything else you can think of doing with a paper ice cream cone. You may not be able to eat your finished ice cream cone, but you'll definitely enjoy making it.
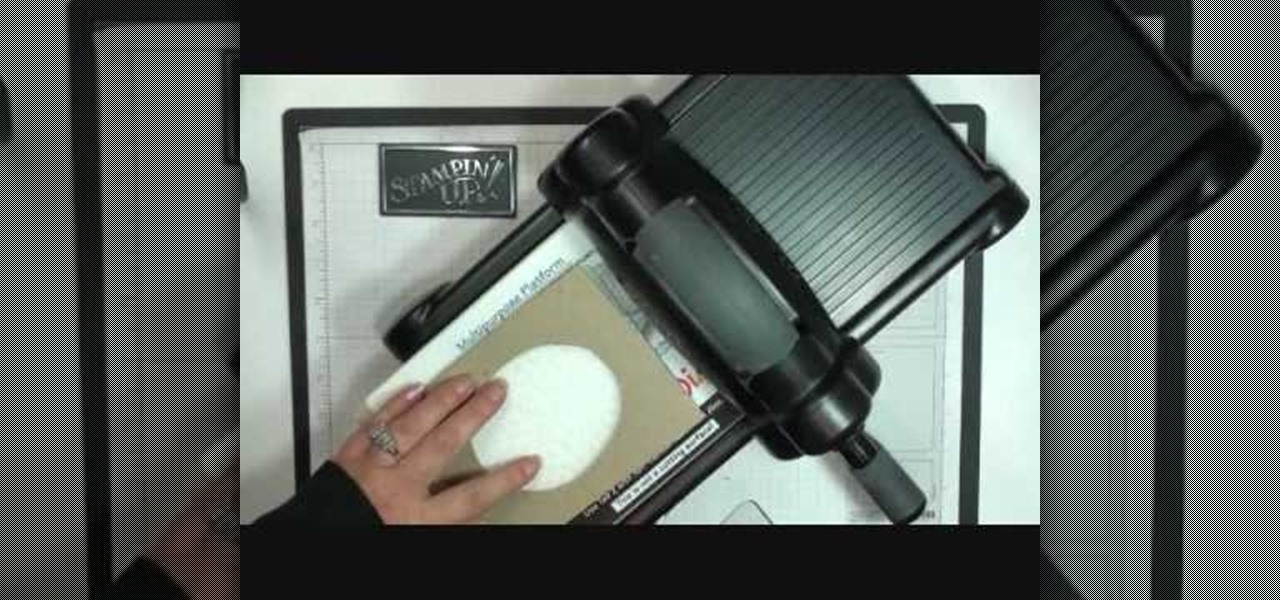
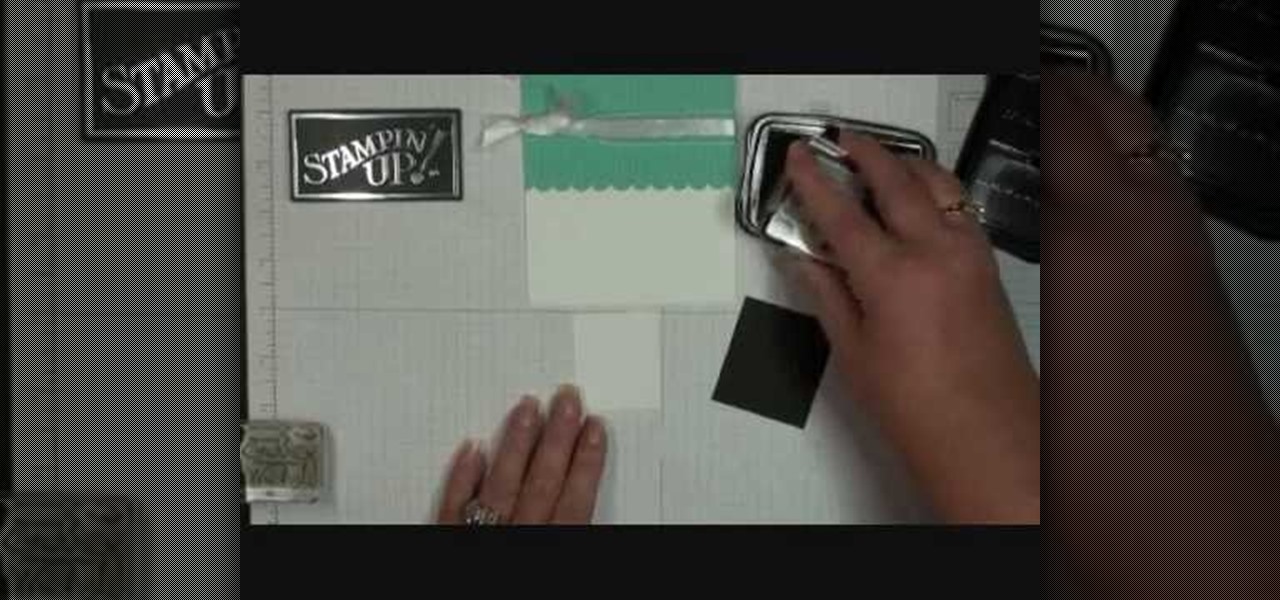
How To: Use an embossing folder with Stampin' Up!
This video is about using an embossing folder. The video begins off by showing how to create a perfect oval for the main emblem in the picture. First you take your whisper white card stalk and attach it to a piece of cardboard. after this process you run it the embossing machine to make the adhesive attaches correctly. The video contains video and audio instructions as well as multiple techniques to complete the task at hand. this video is very informative and help you indefinitely to complet...

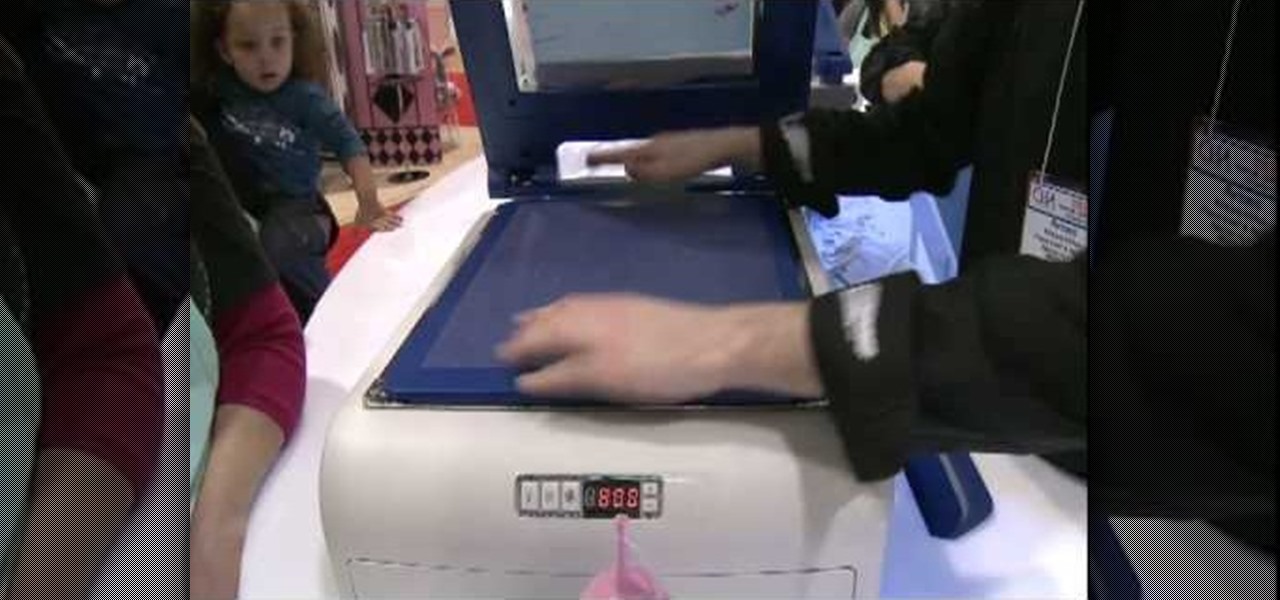
How To: Use the ProvoCraft YuDu home screen printing machine
Margot Potter, otherwise known as The Impatient Crafter, provides a thorough examination and demonstration of the ProvoCraft YuDu home screen printing machine from start to finished product (in this case a screen printed tee-shirt). This video is effective both as an introduction to the product and what comes with your purchase as well as tips and tricks as to how to work with home screen printing. The 6+ minute video is entertaining as well as informative and keeps your attention in an irrev...